CREATING A BUSINESS SPOTLIGHT – DESKTOP

shuvo
Last Update há 2 anos
Building a business spotlight post is now super easy with just a few clicks on your computer using Kaydoh dashboard.
What do you need?
- Computer
- (optional) – Sign up for the free video editing tool: Animoto
Tutorial Options
- Watch – Tutorial (4 minutes)
- Read (step by step)
Watch – Tutorial (4 minutes)
(duration: 4 minutes)
Read – Tutorial (step by step)
STEP 1
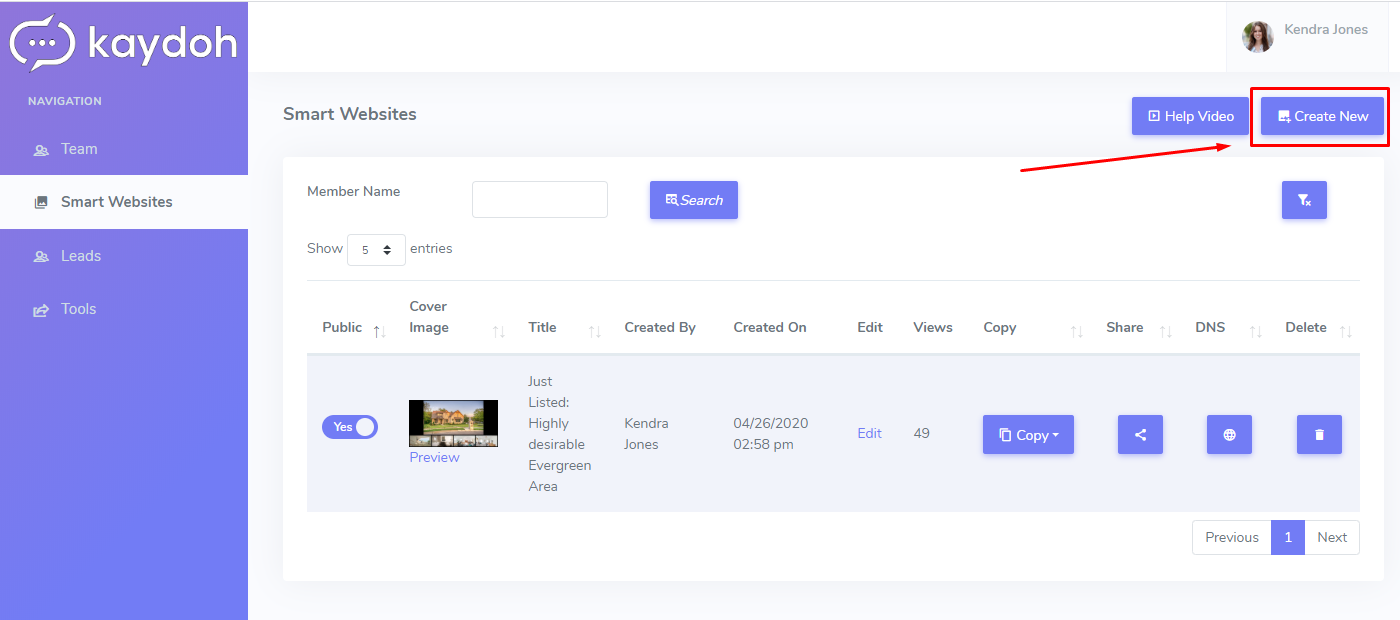
On the Smart Website section of, click on the button at top right [Create New]
STEP 2
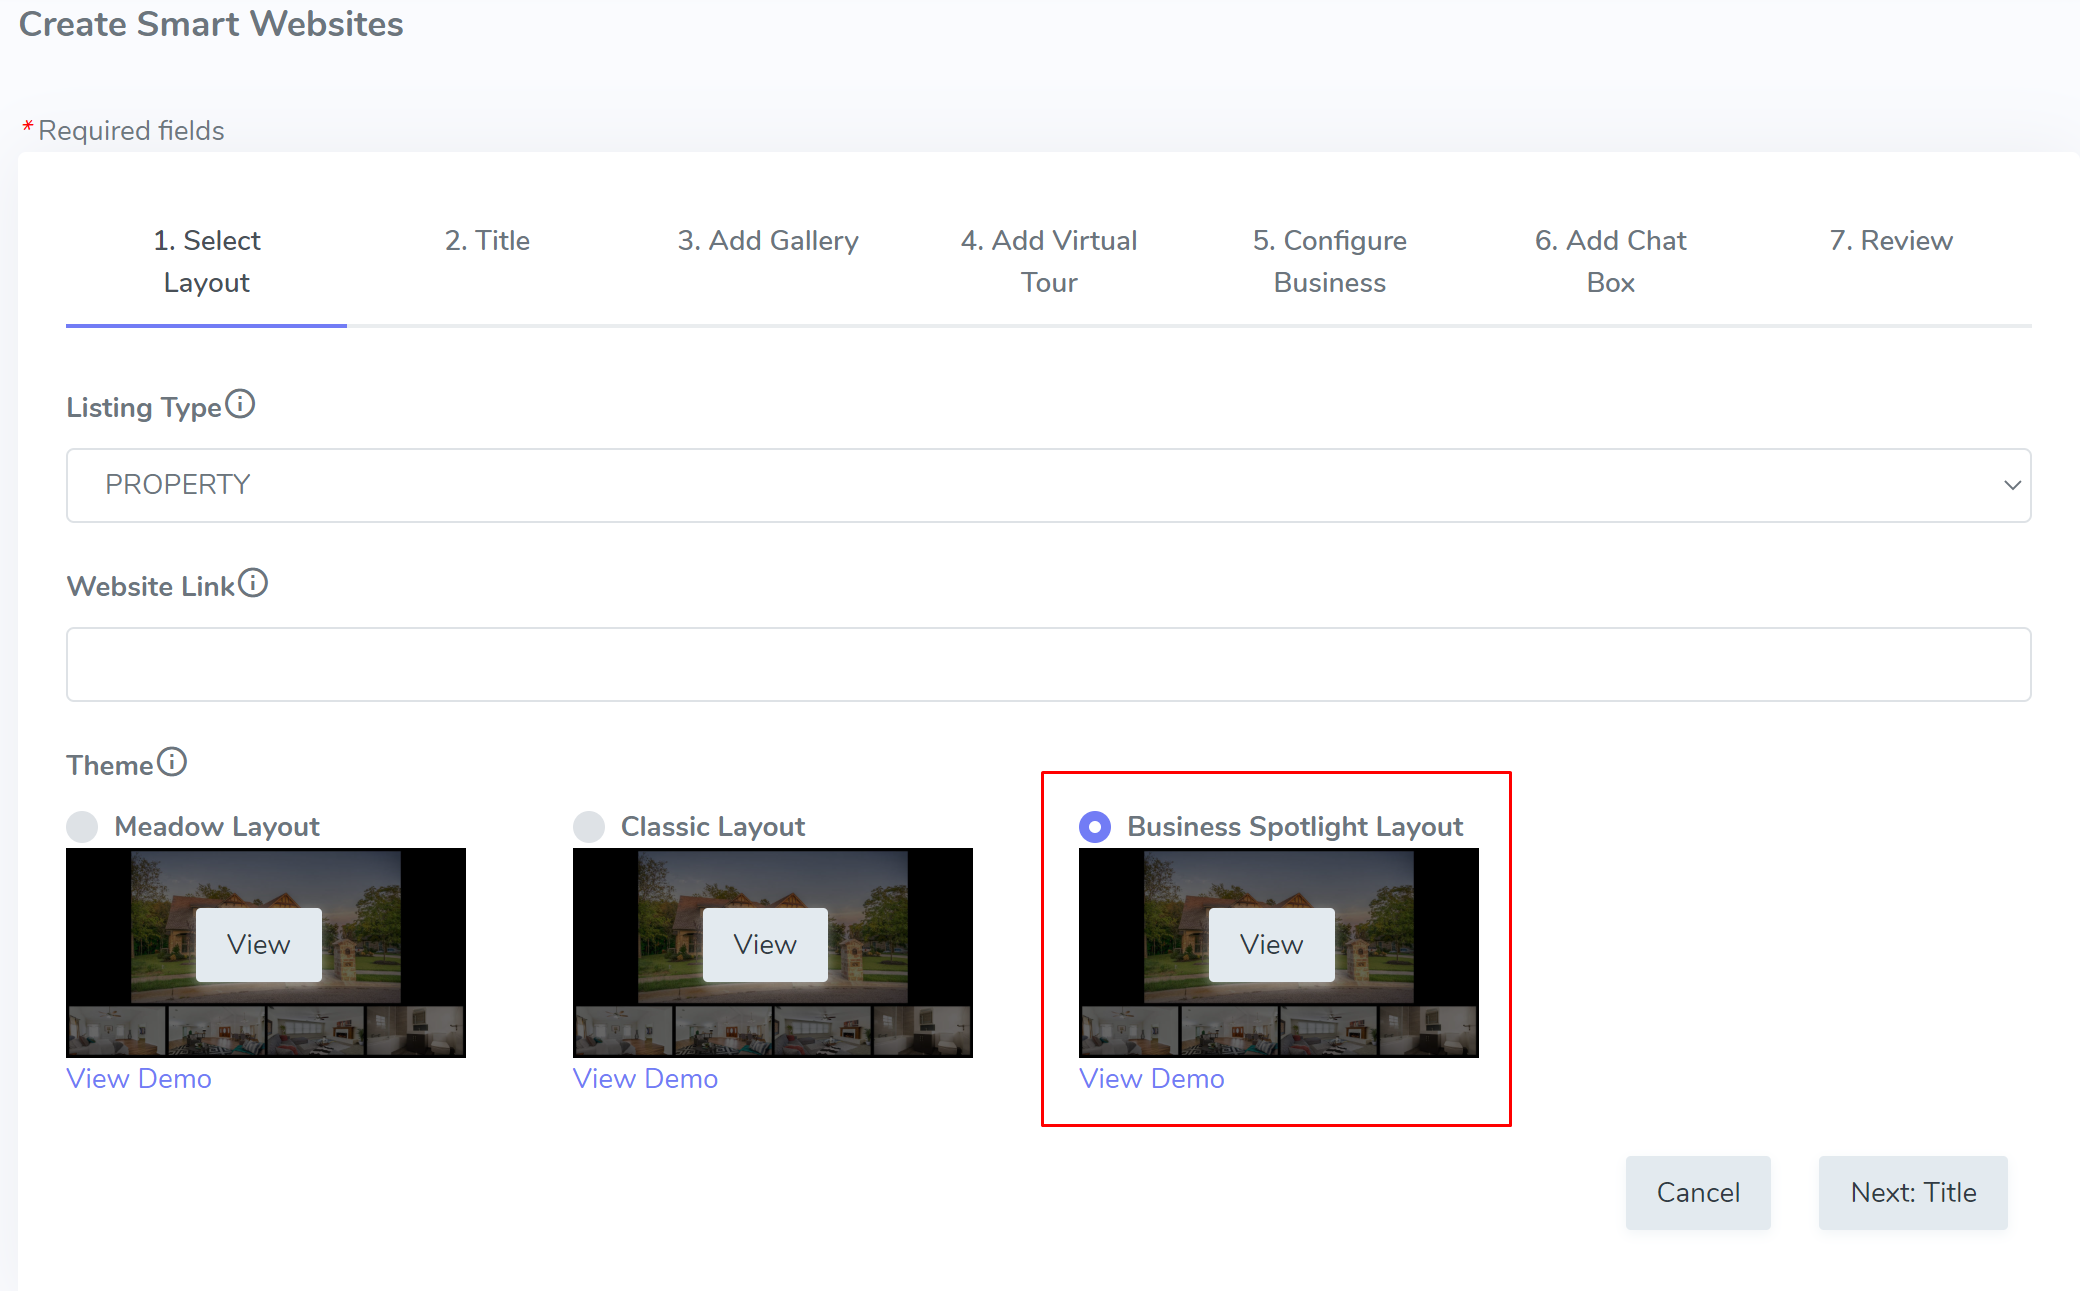
Choose the “Business Spotlight Layout” theme.
STEP 3
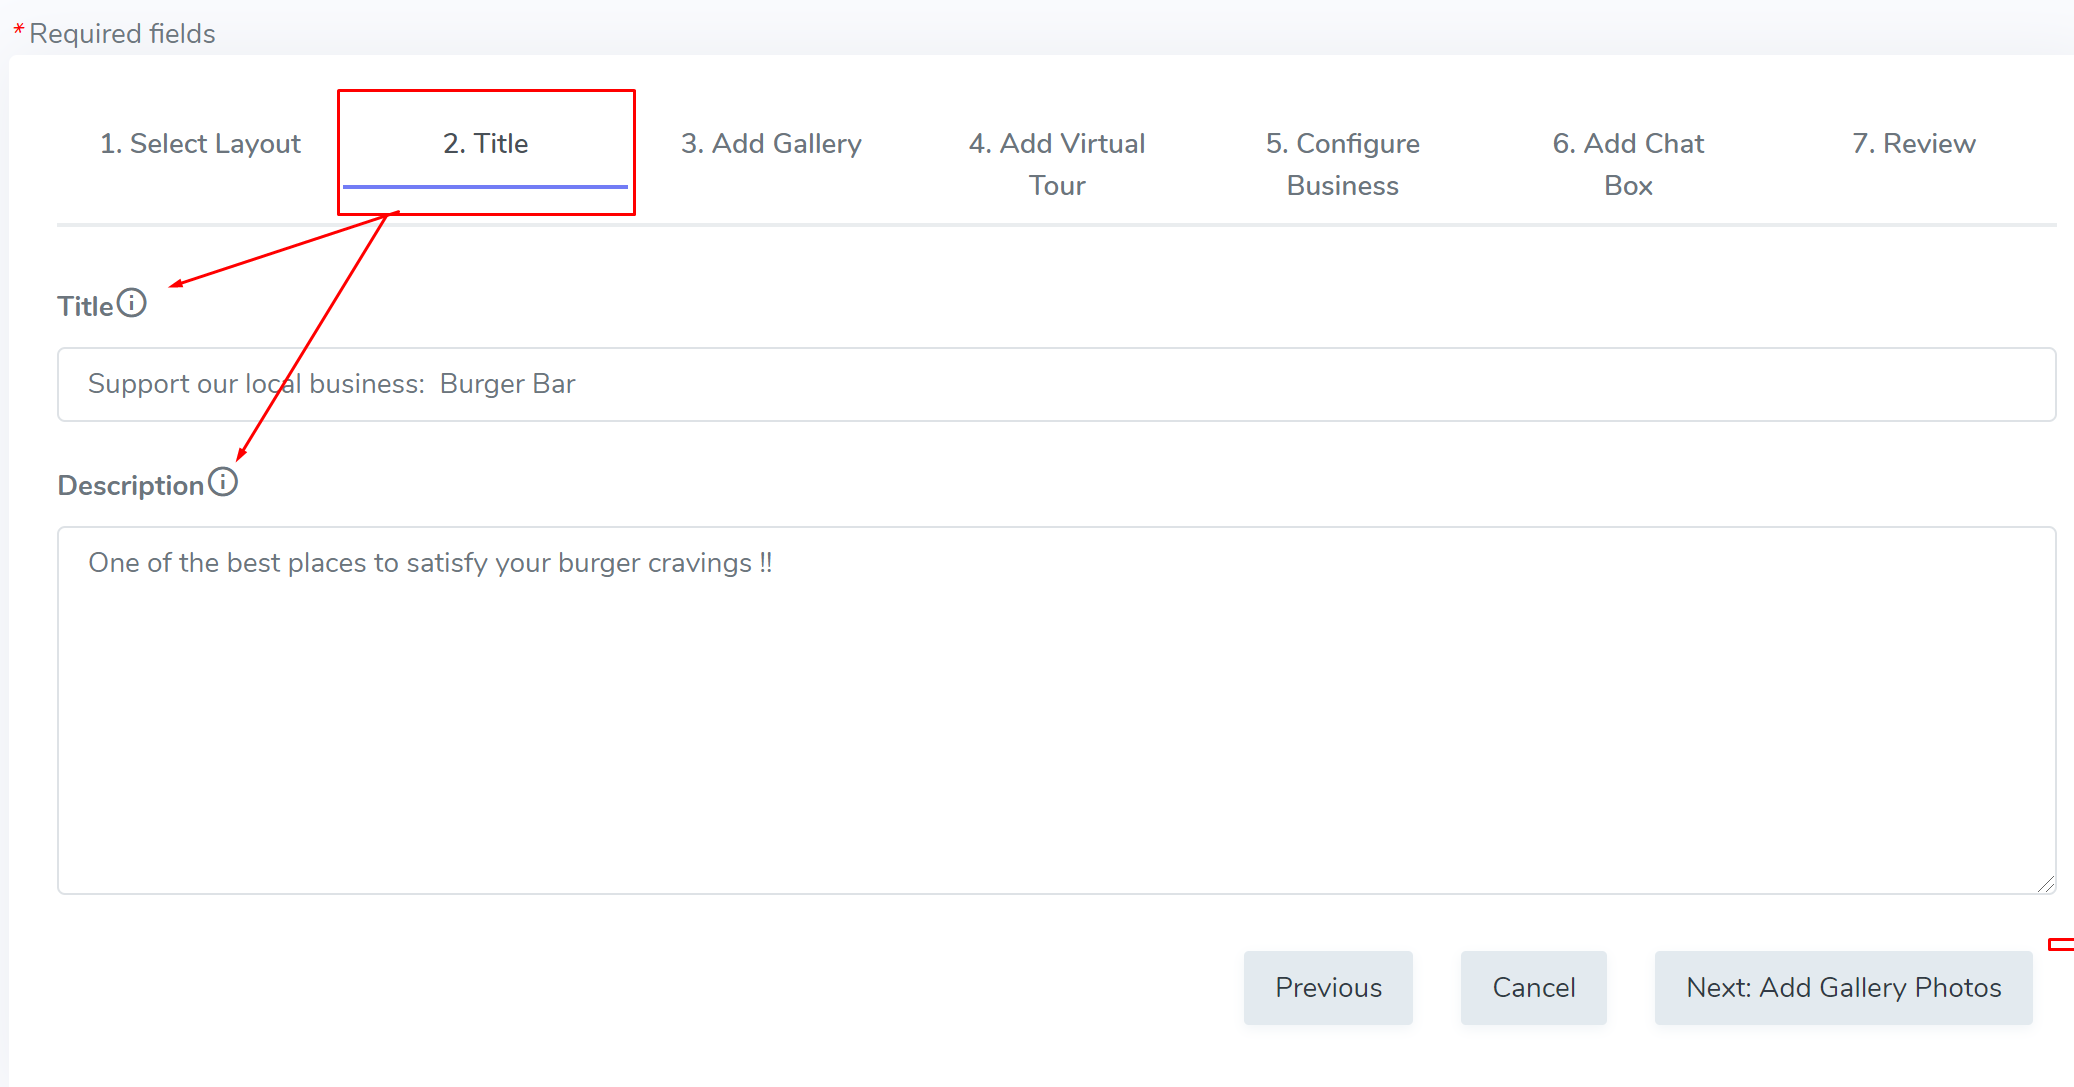
Navigate to the next section, “Title” . There fill in the Title and Description of the business.
- Title
This will be the short phrase that describes this business. Such as, “Supporting our local business: Burger Bar”
- Description
In this area, add a few points about the business, you want your followers to know about.
STEP 4
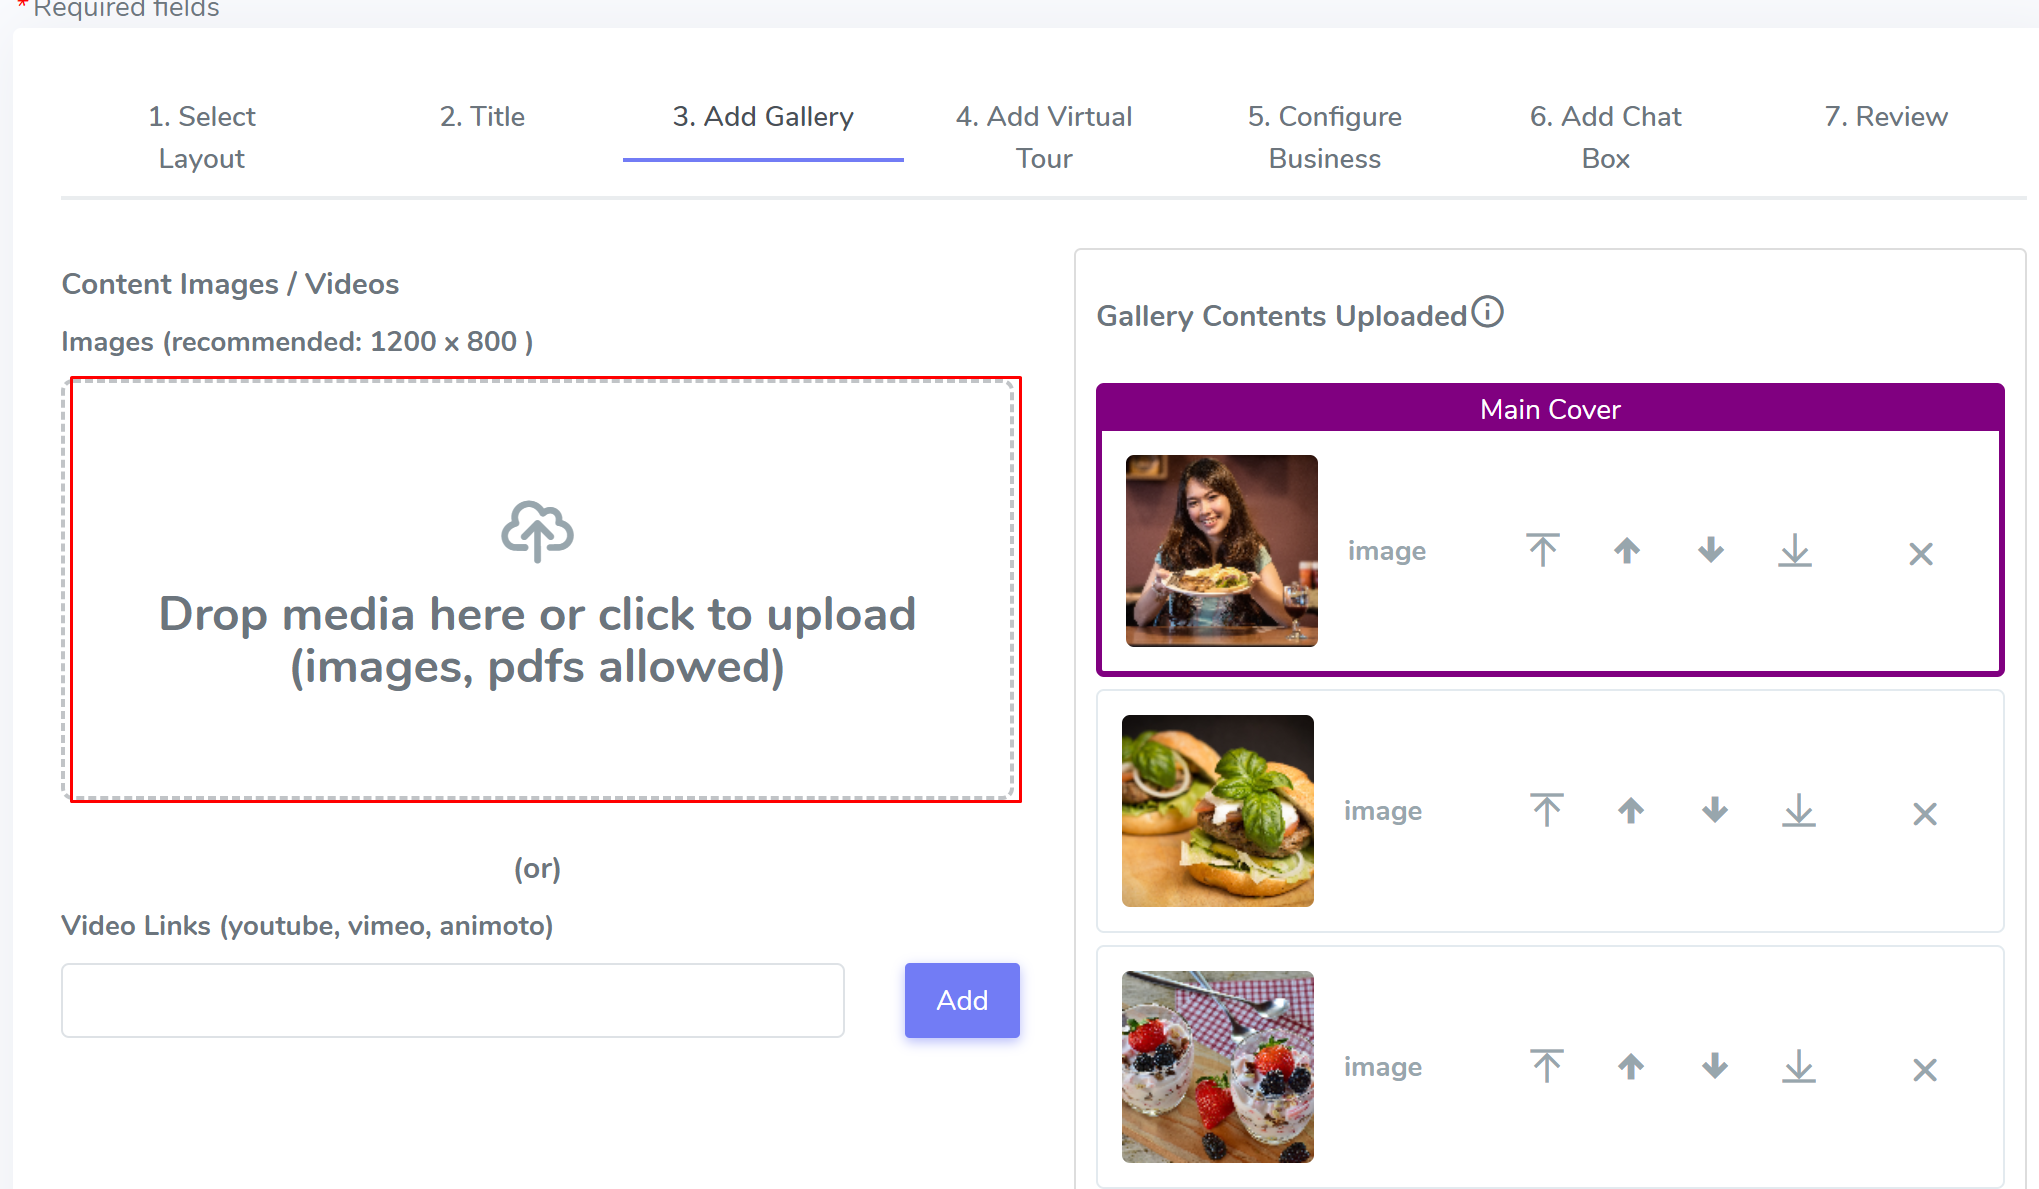
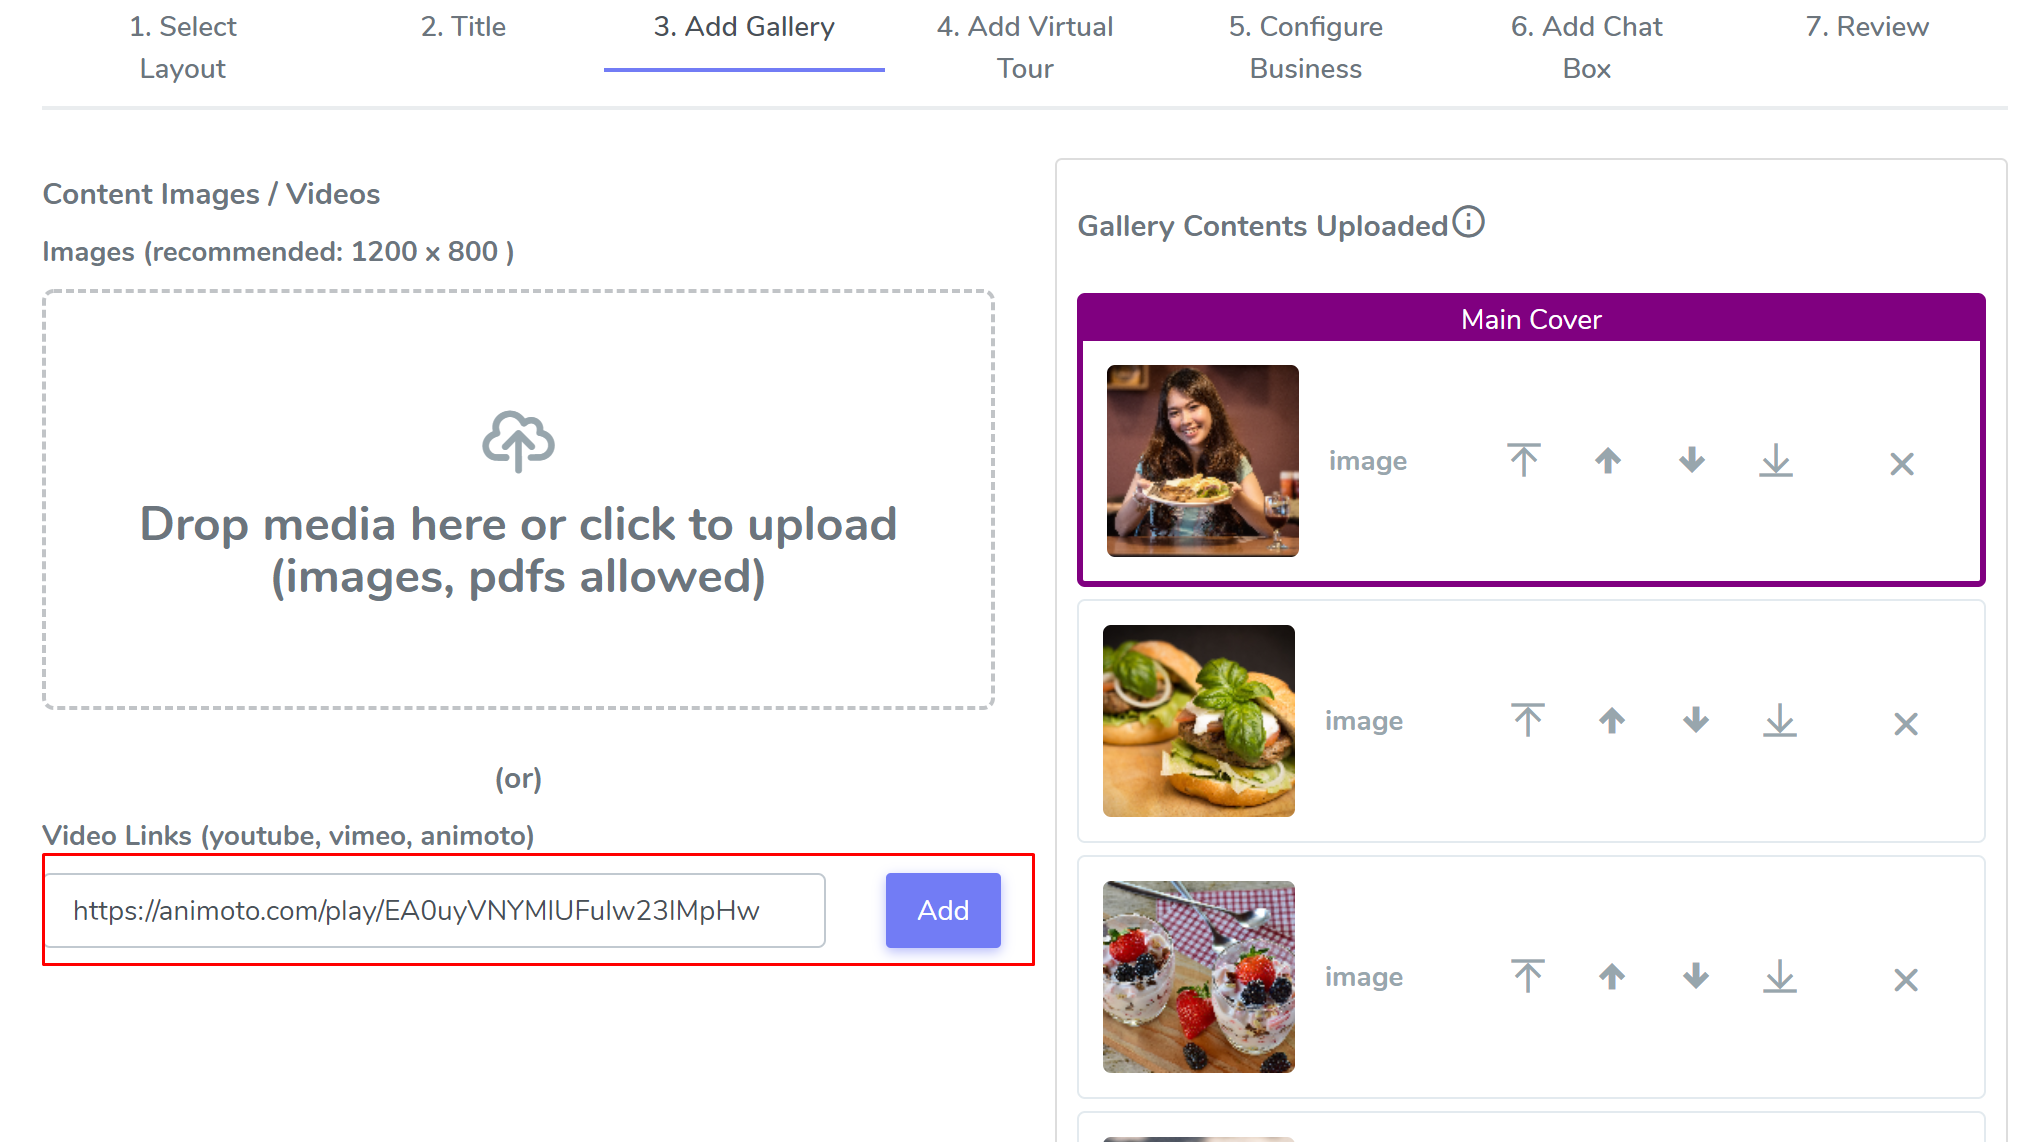
Navigate to the next section, “Add Gallery” tab. Here you can drag photos to the media box or click on the media box to locate photos of the business on your computer.
Note: First image will be the cover of the website.
STEP 5
Add business video links if available. Such as a video found on YouTube or a custom made video from Animoto . Click [Add] to include the video to website.
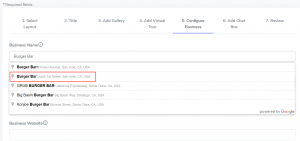
STEP 6
Navigate to “Configure Business” tab, to fill in details about the business. Most of the information can be auto-populated by searching for the business name from the Business Name field.
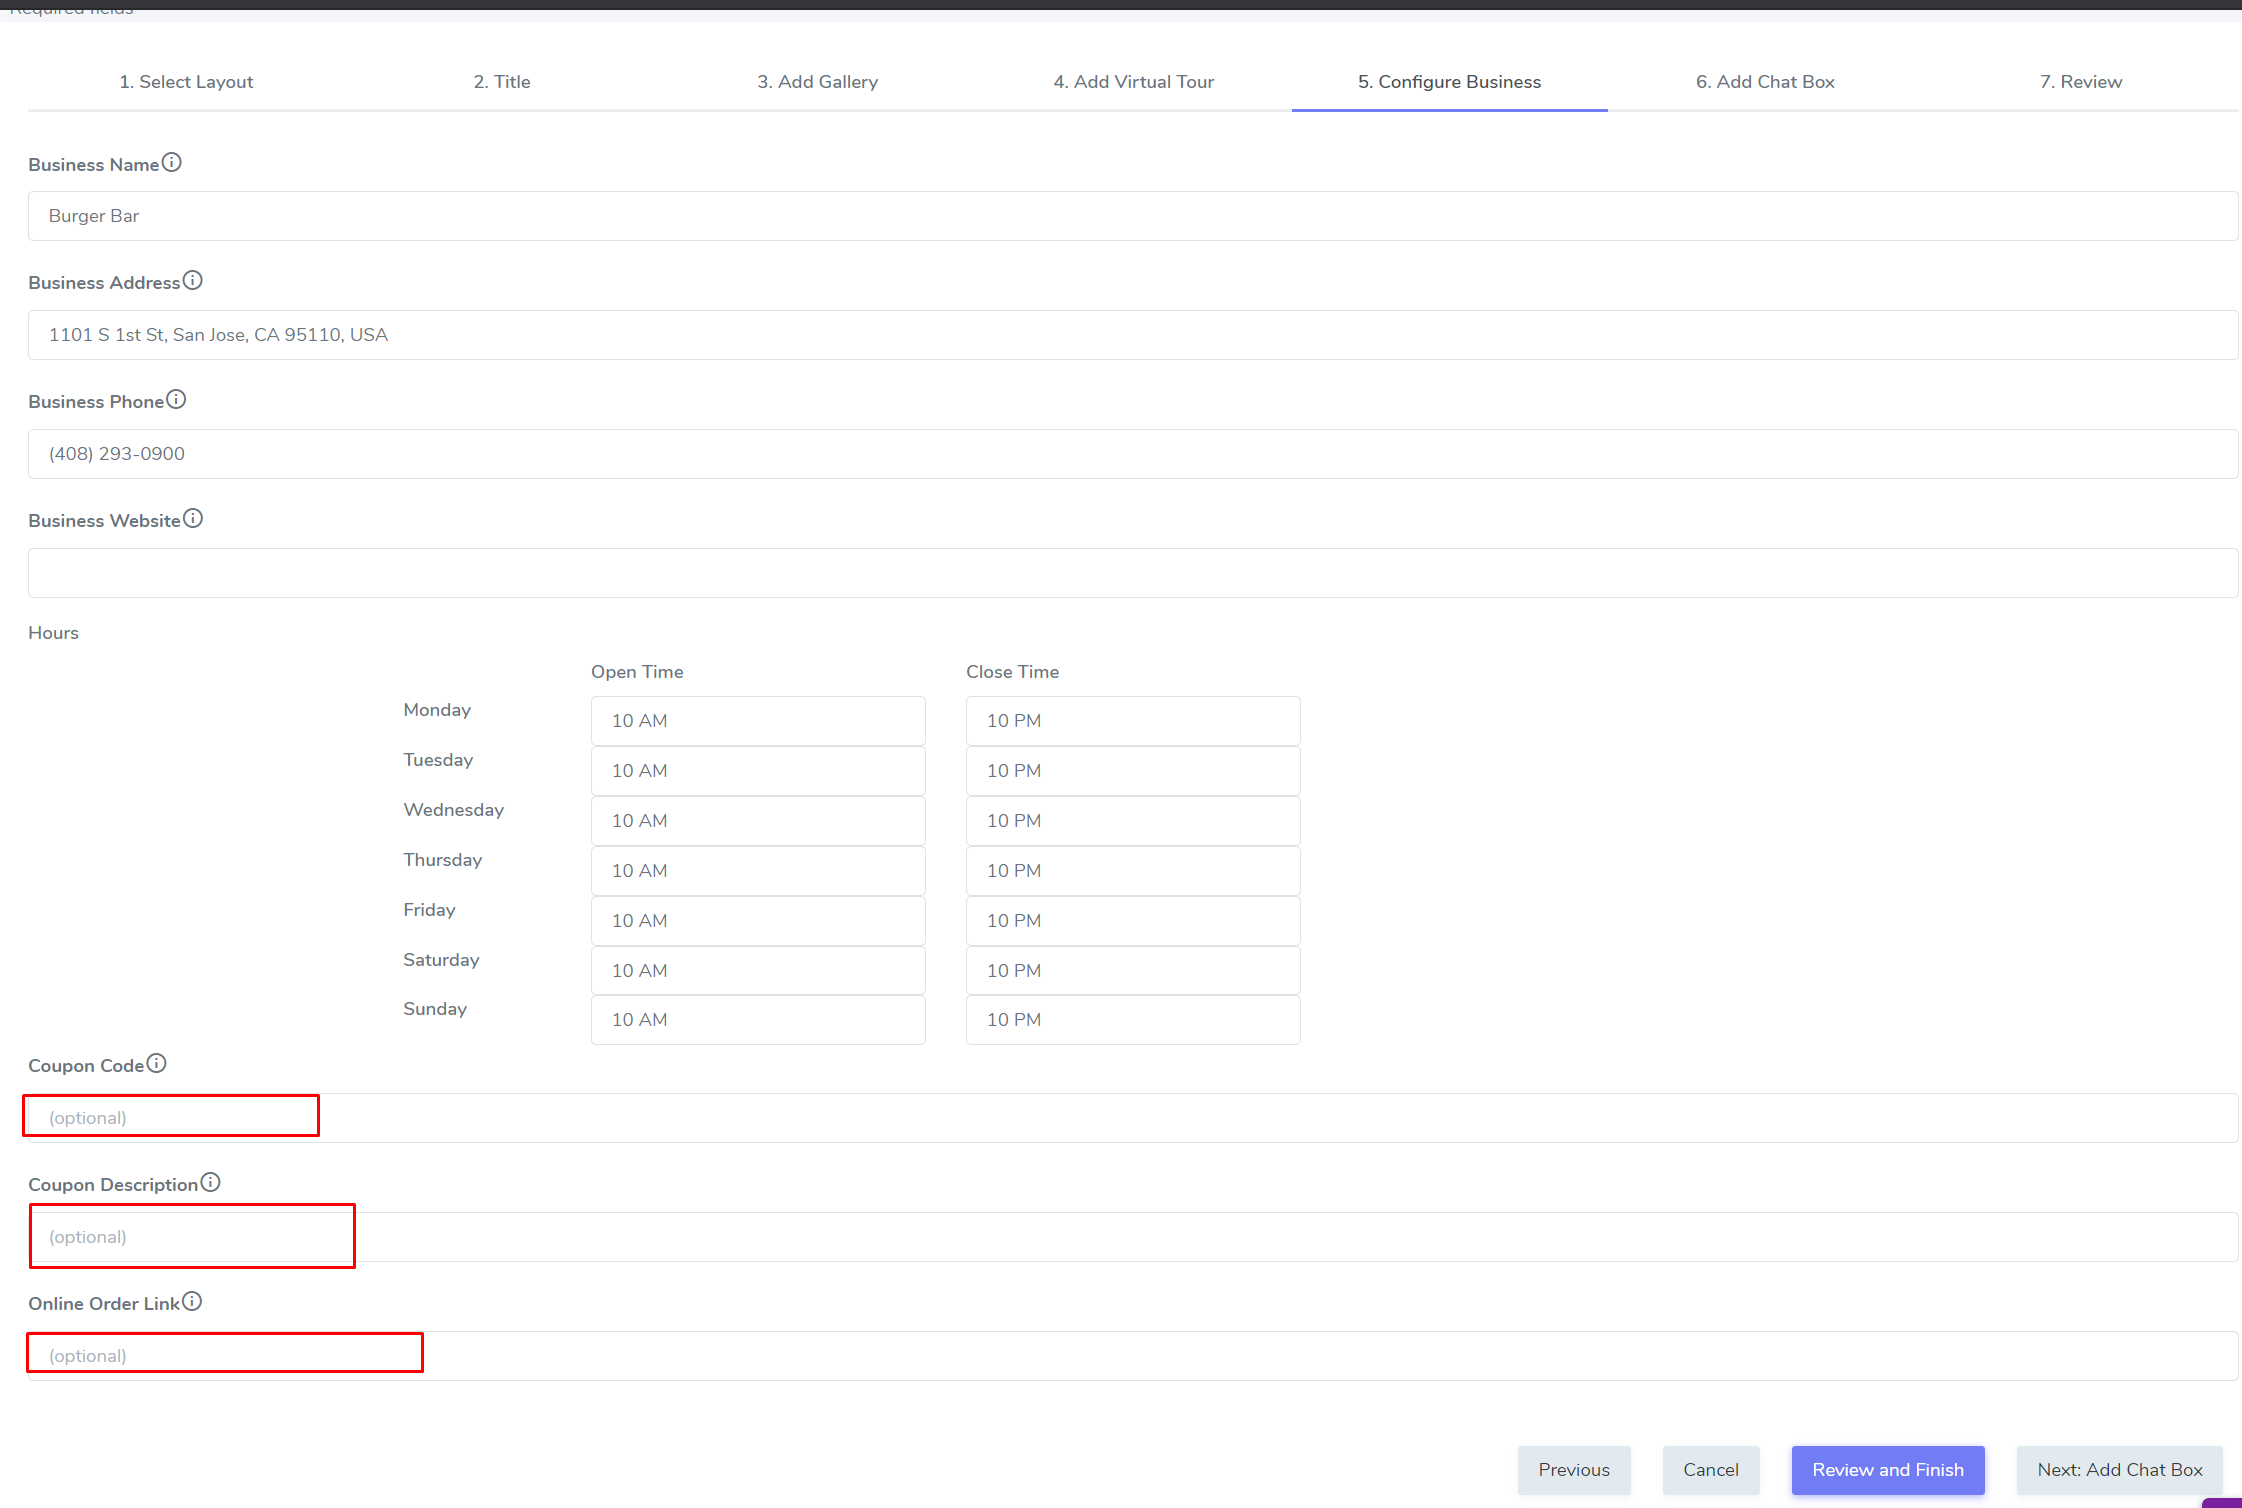
STEP 7
Fill out rest of information if desired. All fields are optional. Below are some additional details about integrating coupons and online order links.
Coupon Code (optional field)
This is a code given to you by the business owner or available publicly on flyers or online.
Coupon Description (optional field)
Describe what this coupon is and how to apply it (i.e call in or during checkout online)
Online Order Link (optional field)
This can be found on the business website or on other online delivery services such as Door Dash or Grub Hub.
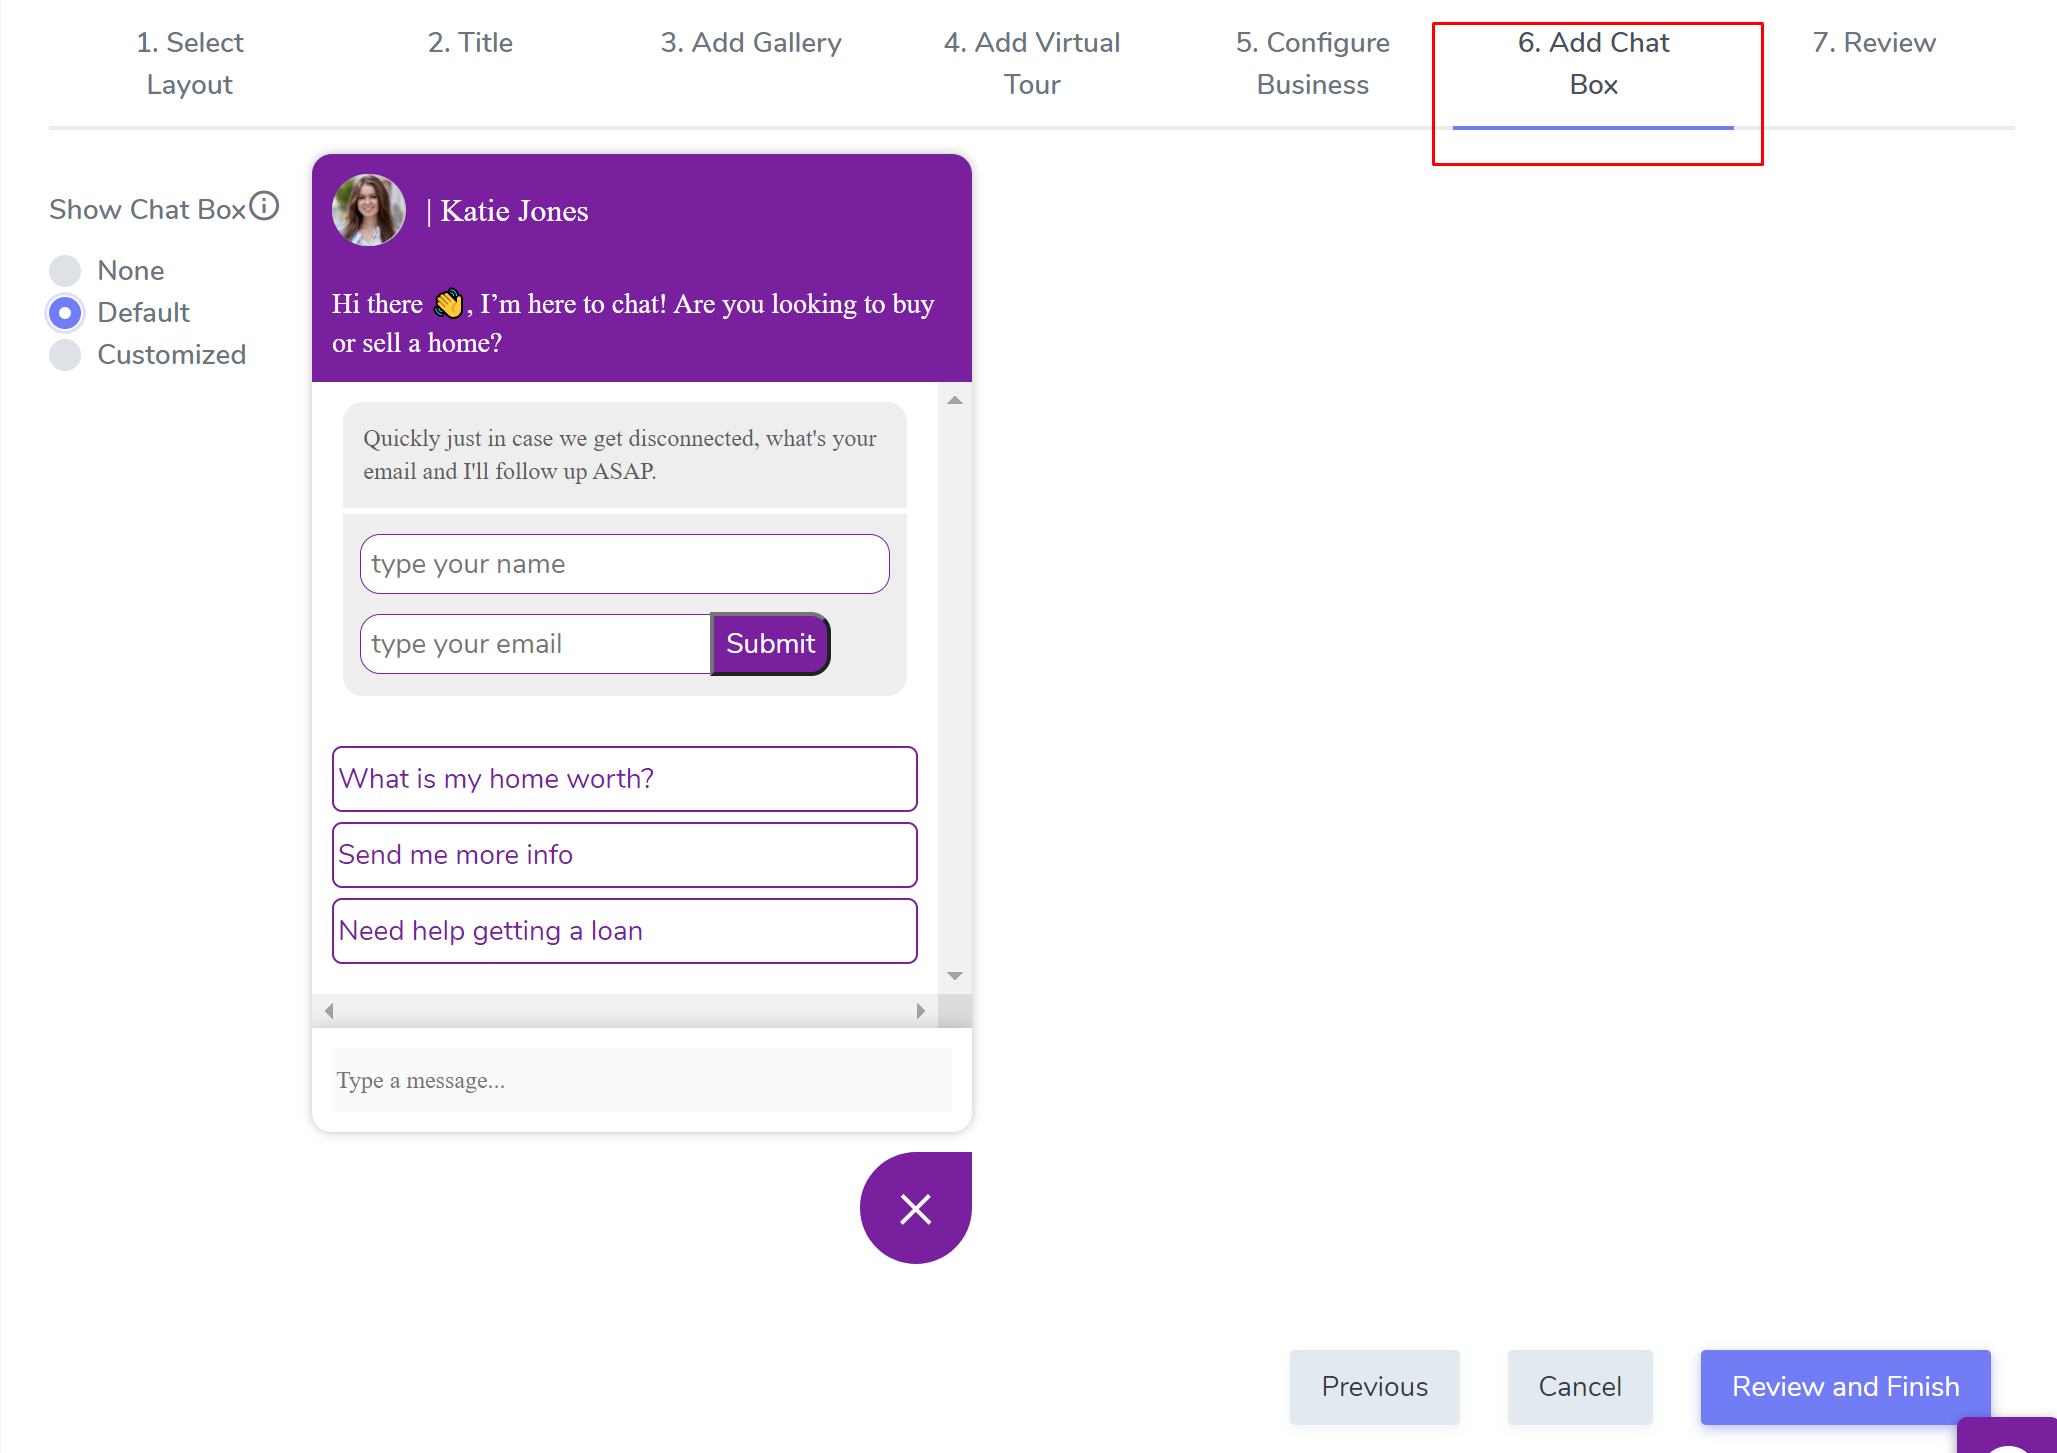
STEP 8
Once ready, go to the “Add Chat Box” section. Here you will have 3 options. By default, the Chat Box is selected and will pull from your global chat box from initial setup.
NONE
This will disable LIVE Chat on business website. This may be ideal when you don’t want to engage with online visitors about the business itself.
DEFAULT
This is the chat box that was setup during initial setup.
CUSTOMIZED
Here you can modify the chat box and customize the layout, color, custom greeting along with updating the appropriate buttons. Learn more about how to customize your chat box here.
STEP 9
When ready, you are finished. Go to the “Review” section to go over and ensure details of business are properly set, photos uploaded..etc. Click on [SAVE] when ready to create the website. (you will still need to publish and share it on social media when you’re ready) .
Go here to learn how to SHARE the business website when ready.