How To Build a Website (advance mode)
Step by step tutorial (portfolio website)

Rheyal Abalos
Last Update hace 2 meses
Building a Portfolio Website showcases your best work and experience to your target audience. Members using Kaydoh are wining deals by creating unique relevant experiences to their target audience.
Below is a tutorial using "Advance Mode" option when creating a Kaydoh Page
What do you need?
- Computer or Laptop
What to do?
- Watch (19 minutes)
- Read ( step by step )
Watch - Tutorial ( 19 minutes )
Read - Tutorial ( step by step)
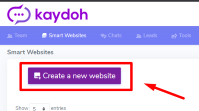
STEP 1
Create a new website
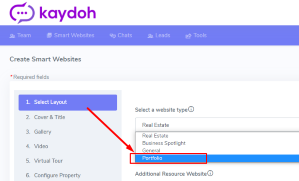
STEP 2
Select the website type to "Portfolio"
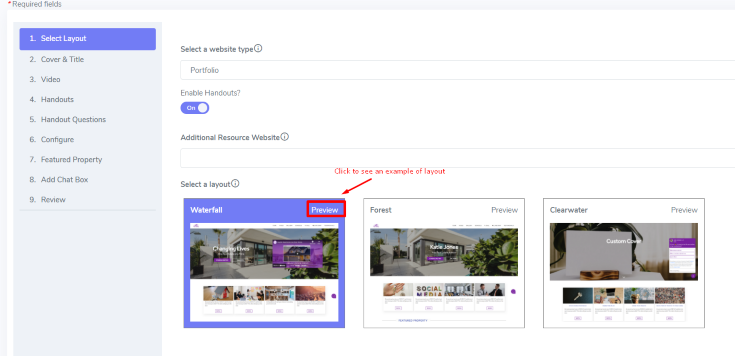
STEP 3
Choose a layout. Click on the "Preview" link to see a sample of layout. When ready move to next tab, to [Cover & Title]
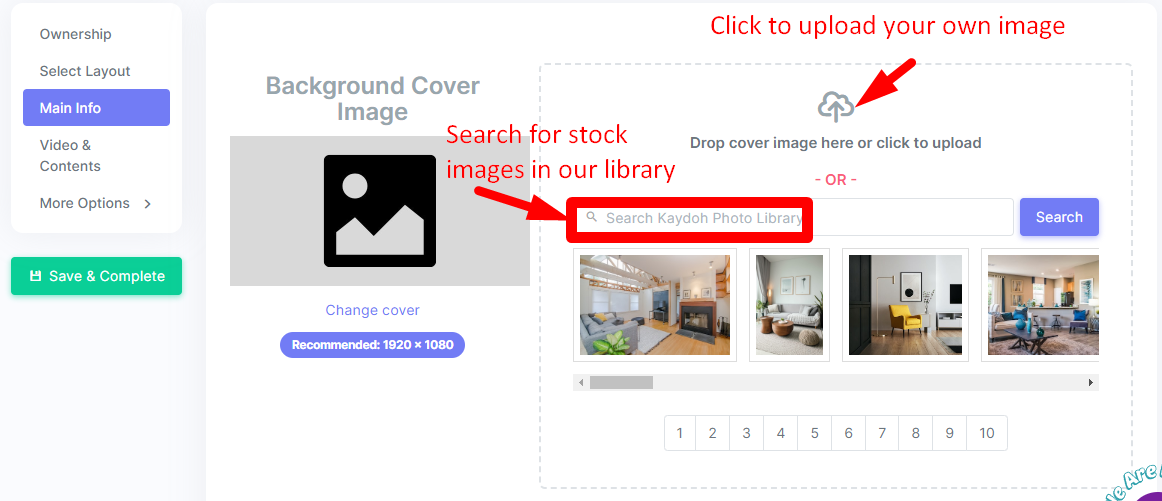
STEP 4
Choose a banner background image for the main website. You can upload your own image or search for an image in our library. If you search for an image in our library, select the image accordingly
Ideal Cover Image Size: 1920 x 1080 pixels
STEP 5
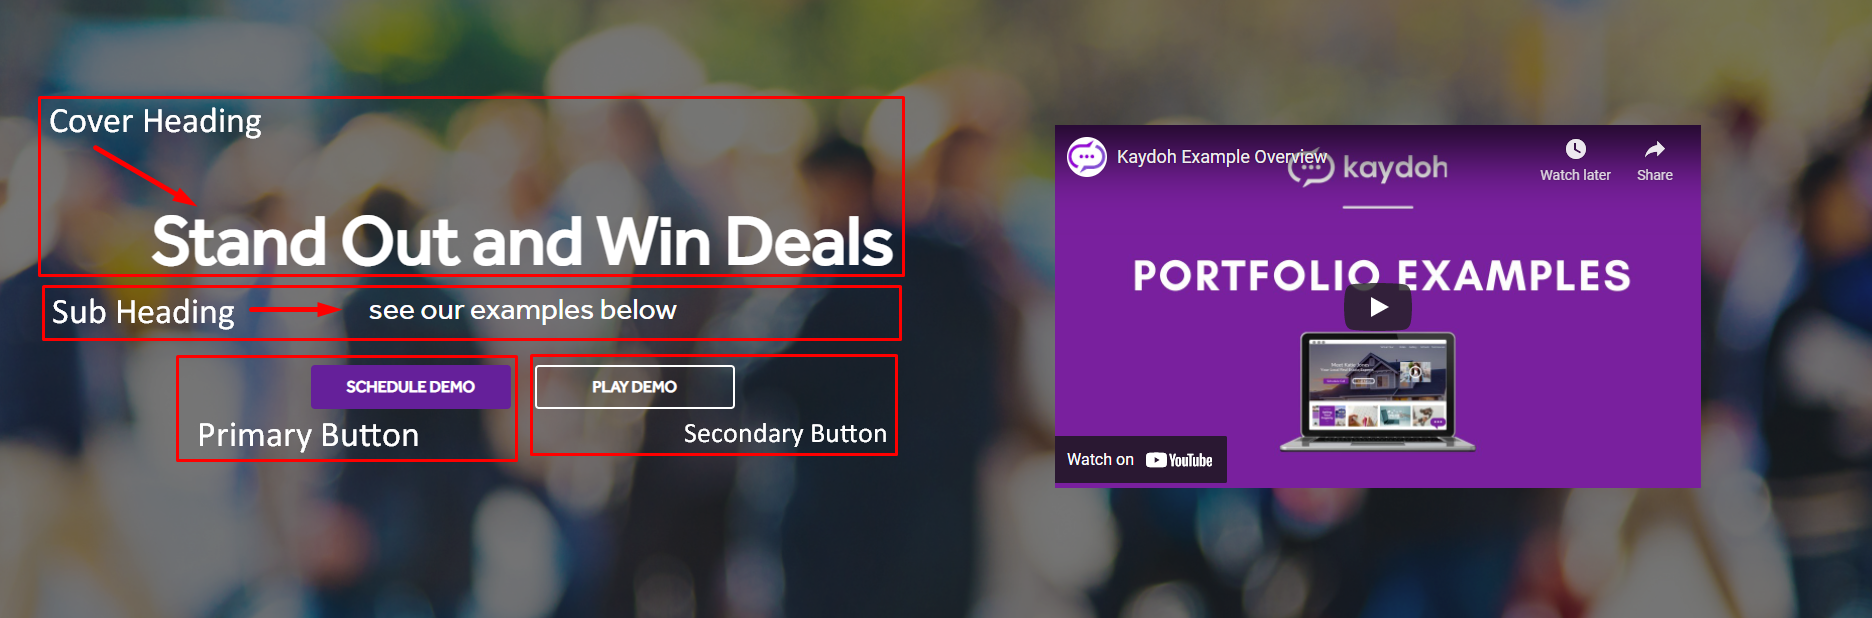
Fill out the inputs accordingly. Below explains their meaning
- Cover Heading (optional)
The main text on top of website. - Sub Heading (optional)
The text below main text on top of website. - Title (required)
Text in this input box will get displayed when sharing on social media. This is a required field. It is the website label - Description (required)
This can be the description of the purpose of website or an about me section. - Primary Button
This is the first button, the main call to action you want visitors to do. The button is displayed in a solid color (color always matches the LIVE chat box color). The value here can be a link that goes out to another website, direct mobile number, email, or video link from (YouTube or Vimeo) - Secondary Button
This is the second button displayed in an outline color (color will always be white). The value here can be a link that goes out to another website, direct mobile number, email, or video link from (YouTube or Vimeo)
STEP 6
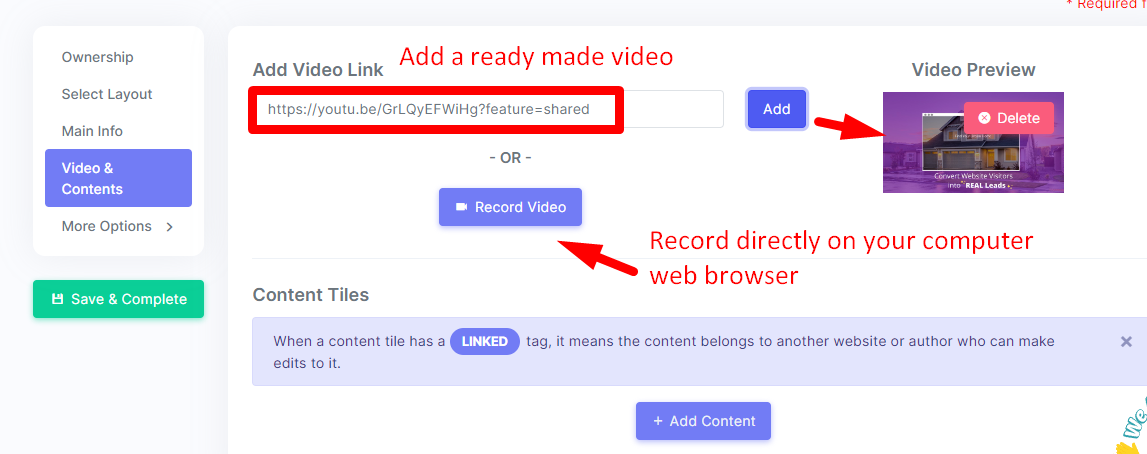
Move to next tab [Video & Content]. In the video section, insert the link of the video hosted either on (YouTube, Vimeo, Canva, PitchHub, Animoto,). You could instead of adding a video already recorded by doing a real-time recording directly on your web browser by clicking on the button "Record Video"
If layout chosen was WATERFALL, this section would appear. If the layout chosen in step 3 was FOREST, this section would be hidden and instead you'd see [Handouts] as the next tab (step 7).
STEP 7
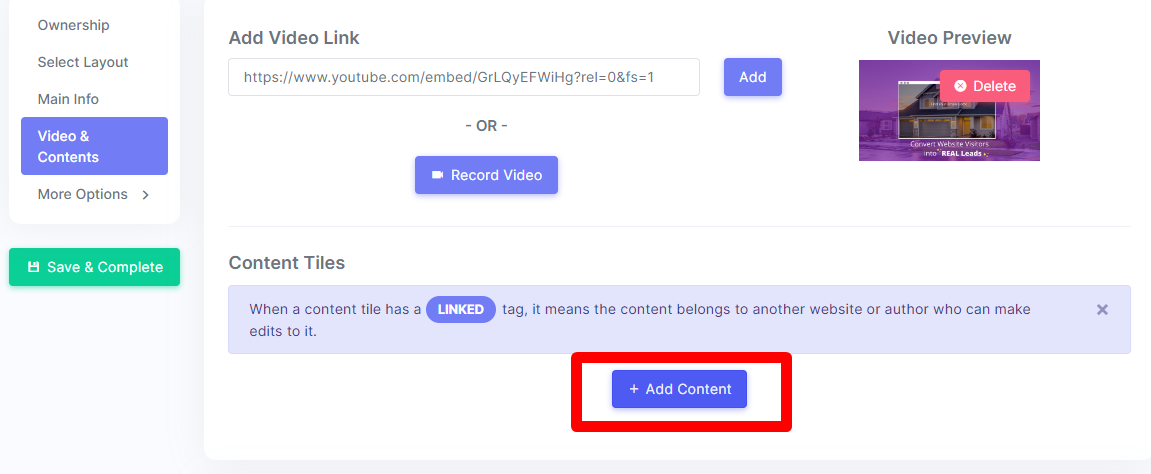
Look for a button called "Add Content" There compile your list of content to showcase. If you're creating a general portfolio, use content that talks about all of your services. If you're focused on a specific theme, i.e Seller Portfolio, then you'll want to bring in content that speaks about just selling. Keep the content relevant to the theme.
Each content tile can be viewed as a digital handout/flyer you allow a visitor to see.
A content tile can be any media except video attachments. You'll be able to attach ( PDF, PPTX, XLSX, TXT, CSV) files.
You can also attach video links hosted over at ( YouTube, Vimeo, Canva, Animoto, PitchHub )
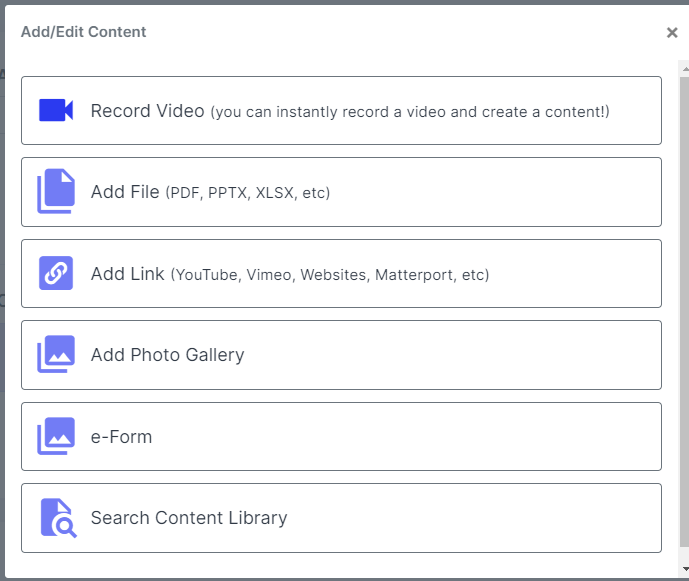
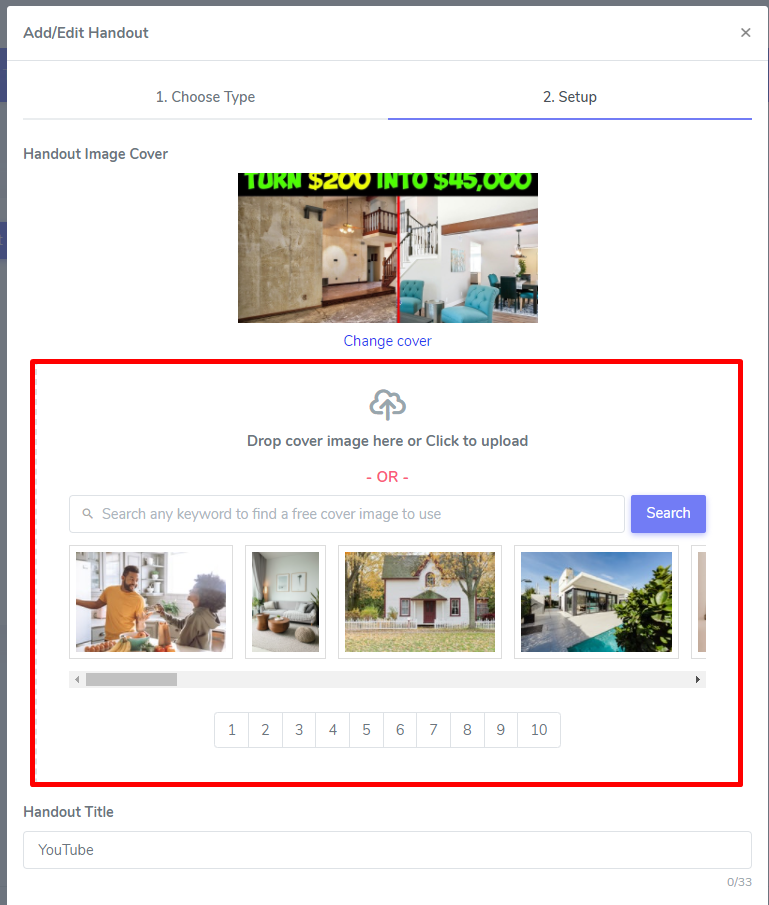
Follow on screen instructions to add content based on the options presented. Kaydoh system will generate a thumbnail for our content. If the image needs to be updated, click on the link "Change cover" below the image.
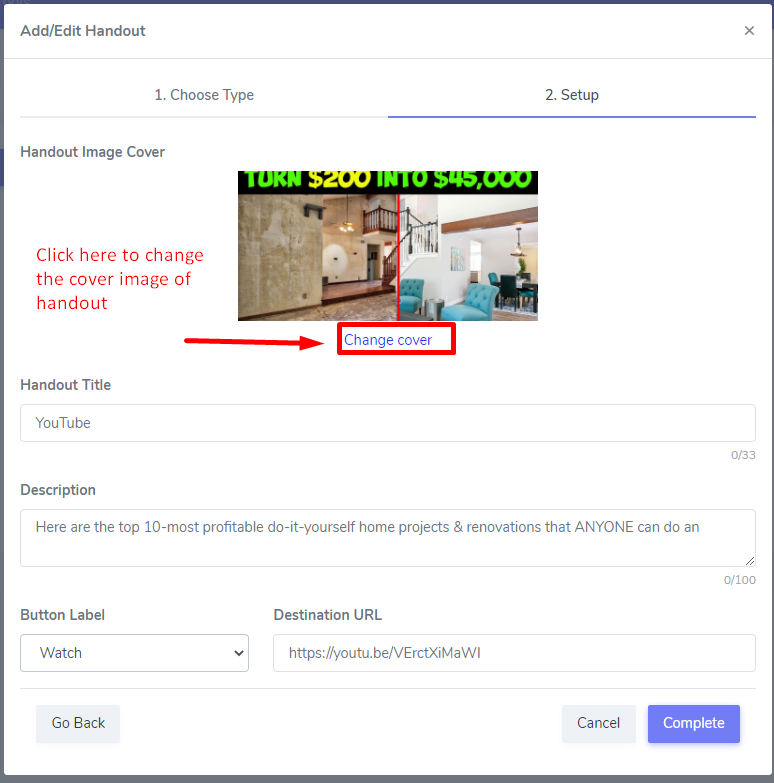
Here you'll have option to upload your own custom image or search for an image in our library.
Ideal Handout Cover Image Size: 600 x 400 pixels
STEP 8
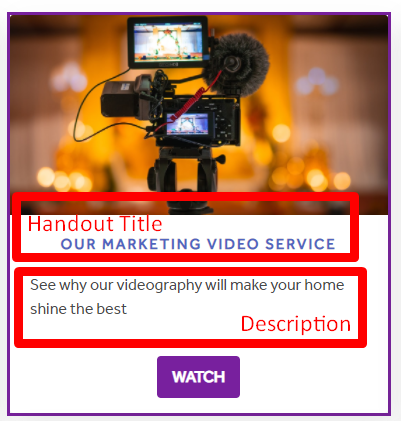
Make all the necessary corrections to details of the handout. Below describes their purpose.
- Headline (required)
This is the title displayed under each handout photo - Description (optional)
Provide a brief description of the purpose of this handout. - Button Label
Choose from our list of available label for a button.
Note: The "Watch" label will expect the Destination URL below to be of a video link. - Destination URL
This will be the URL of content uploaded or linked in. If a link was inserted into the handout, this field will be editable, however if you uploaded a media, this field will not be editable.
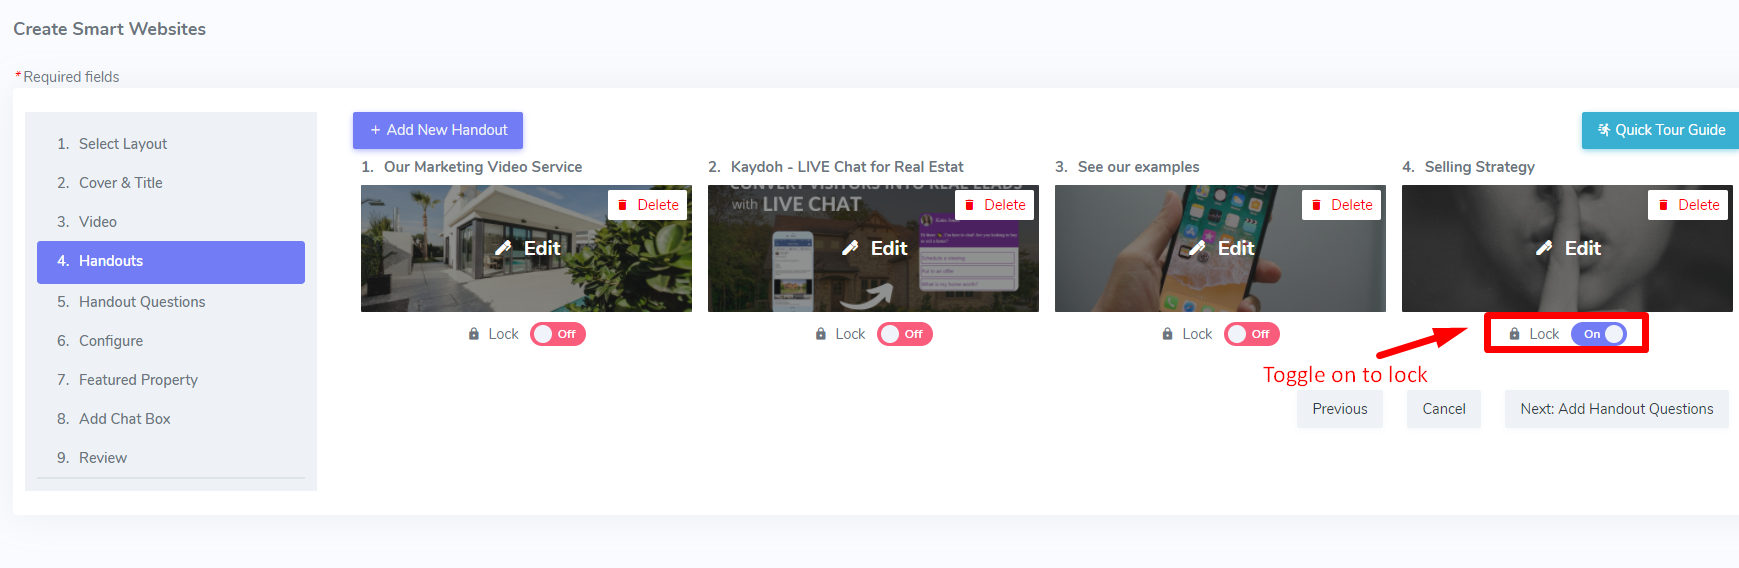
STEP 9
Once all content tiles have been added. You'll have the option to lock tiles, preventing visitors from viewing the content unless they fill out a form.
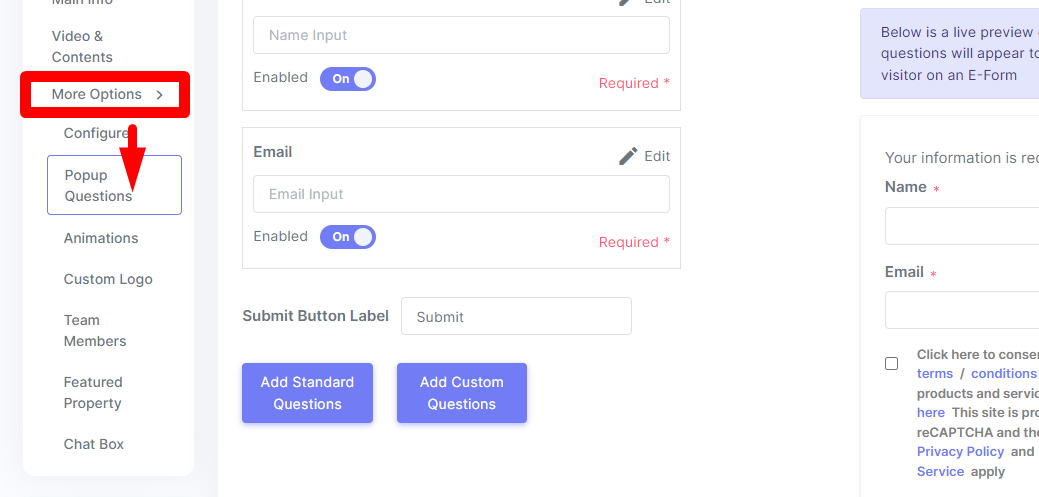
STEP 10 - Optional
Once you you are done with adding your content. You can customized the questions that will be used for locked content. Navigate to "More Options >> Popup Questions" tab. This is the area where you can customize the questions on the form that gets displayed when a visitor tries to unlock a content tile. Its the lead capturing questions.
To add more questions, either click on [Add System Questions] or [Add Custom Questions].
[Add System Questions]
Are a set of questions pre-built. This is great to give you a general idea how questions are setup and configured.
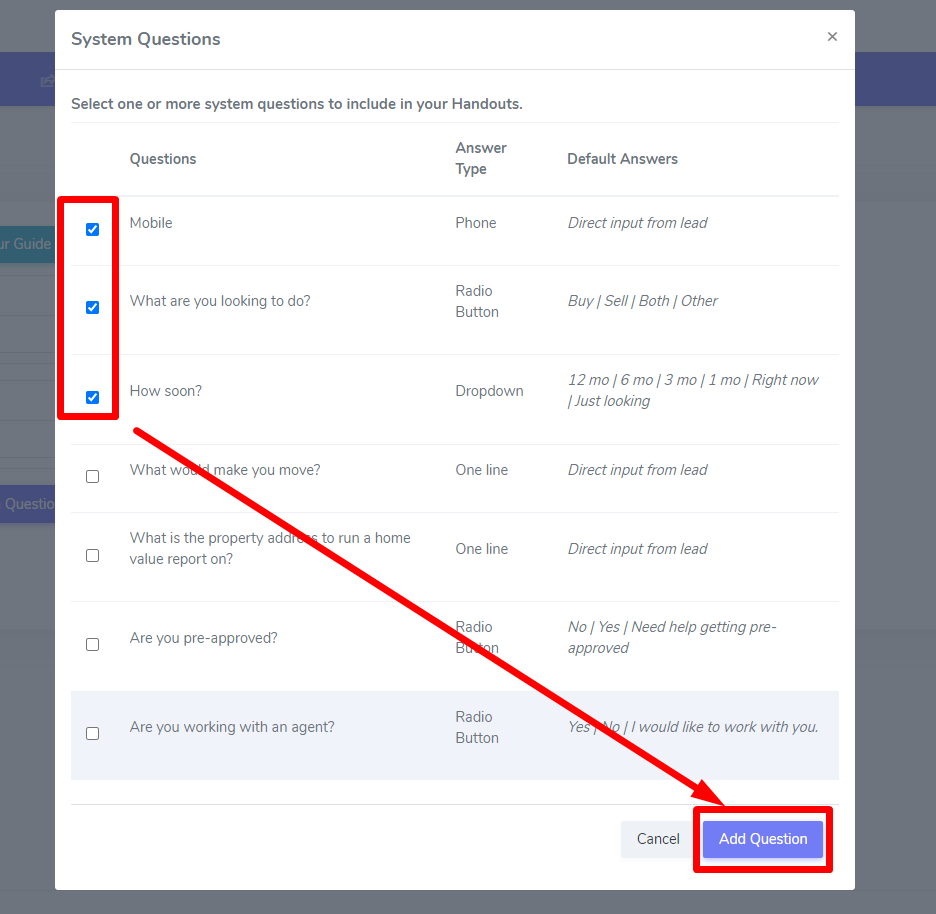
STEP 11
When clicking on [Add System Questions], a list of available options will be presented. To choose the question to add, just click on the check box. When all selections have been made, click [Add Question]
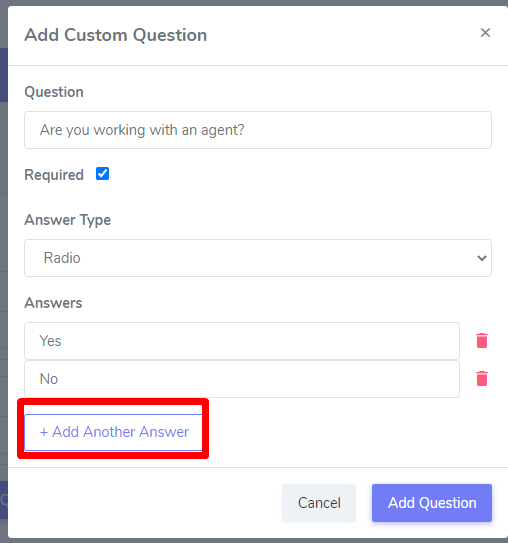
To [Add Custom Question]
Input your own question in accordingly. Decide of the question should be a required field and check the box accordingly.
Answer Type
Provides a list of formatted type of options for the visitor to enter their answer
- One Line - this provides a single row input
- Multiple Line - this allows multiple row of input, such as multiple sentence answers.
- Radio - typically these are predefined answers with less than 4 available answers, for example "Yes", "No" type answers
- Dropdown - use this when you have predefined answers that have more than 4 answers to choose from.
- Mobile - collects phone number
To sort the questions, click on the question and drag it up or down.

STEP 12 - Optional
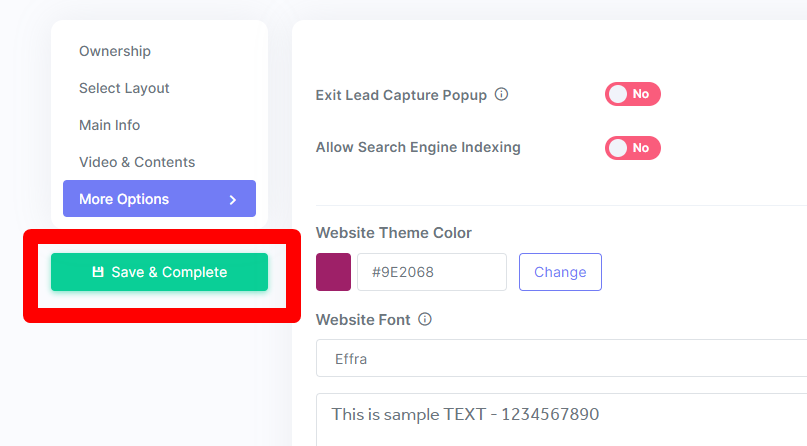
Move to next tab [Configure]. Here there is an option to turn off the Exit Lead Capture Popup. This is the popup that is triggered when a visitor tries to leave the website. Their are option to change the color theme of website along with font

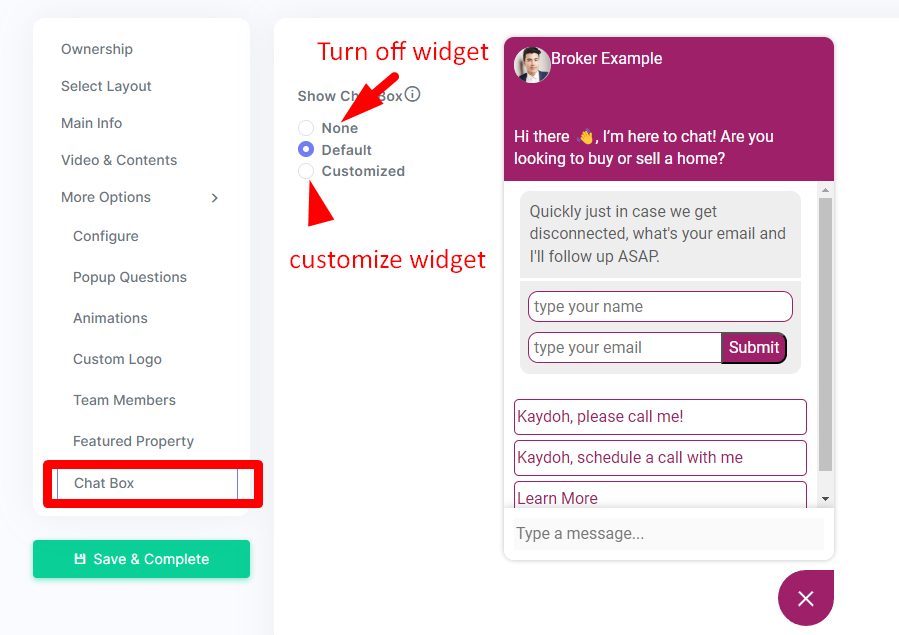
STEP 13 - Optional
Move to next tab [Chat Box]. By default the chat box will be enabled. You have the option to disable it, hiding the LIVE chat or customizing it to update the color, buttons within the LIVE Chat. To learn how to customize the live chat, go HERE.
STEP 14
Last Step: Review
Go here to make sure everything looks good and when ready, click [Save & Complete]. Give it about 10-30 seconds for Kaydoh to generate the website.
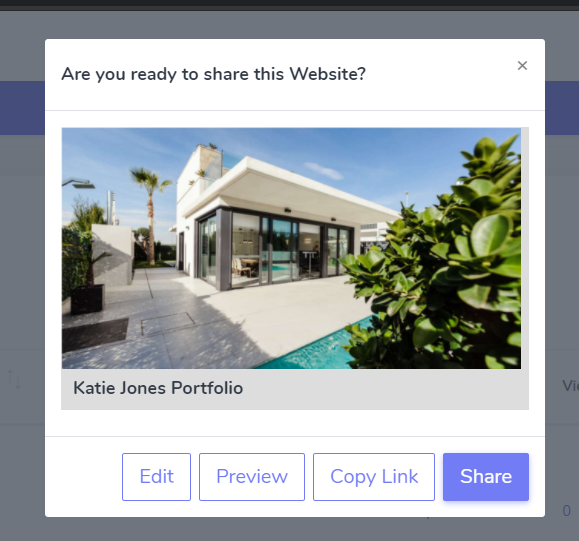
The final step is to decide what to do after making a portfolio. Most people will click on the buton [Preview] to ensure the website looks great according to their expectation. When ready click on [Share] to share directly on Social Media or if corrections are needed click on the button [Edit] accordingly
internal tags:
how to build a website using advanced mode
advance mode tutorial
how to build a portfolio
how to build a website
how to build a general website
how to build a generic website
how to build a site quickly
How can I build a website in advanced mode?
What are the steps to create a website using advanced features?
How do I use advanced mode to build a custom website?