How to make Video Message
Step by Step Tutorial

Mary Smith
Last Update рік тому
Creating a video message site is the best way to create instant rapport with your clients or future clients. Letting your clients see you face to face naturally builds trust over time. Kaydoh helps you do this quickly and professionally while saving time in your real estate marketing activities.
What do you need?
- Your computer
What to do?
- Watch (3 min video tutorial)
- Read ( step by step)
Watch - Tutorial (3 minutes )
Read - Tutorial ( step by step)
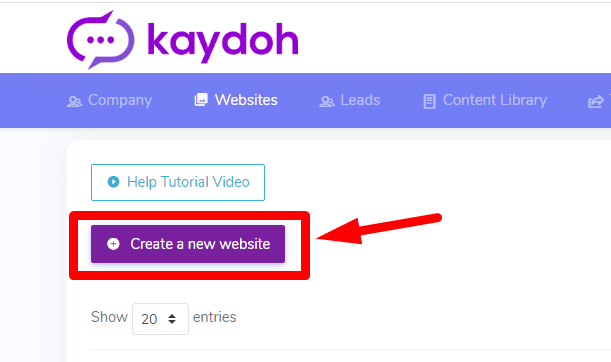
Ready to get started? Simply head to your dashboard and choose “Create a New Page”. Then select "Easy Mode".
Scroll to find "Video message" template, or type in the searchh bar to find it. Once you find it click "Create".

On the “Step 1” page, enter your client’s name, page title, subheading, and core message into the designated fields.

On the “Step 2” page, update your background image by selecting one from Kaydoh’s photo gallery or uploading your own. Simply click the “Drop cover image here or click to upload” box — or drag and drop your image directly into that area.

STEP 3
In this "step 3" page you have the option to record a video instantly from your computer or add content first before you record/add a video. The order in which steps you take does not matter, as its only a preference.
It's highly recommended to add your content in FIRST before you record so that your content can help guide what you will say in your video message.
3a) Adding Content
Click on the "Add New Content" button
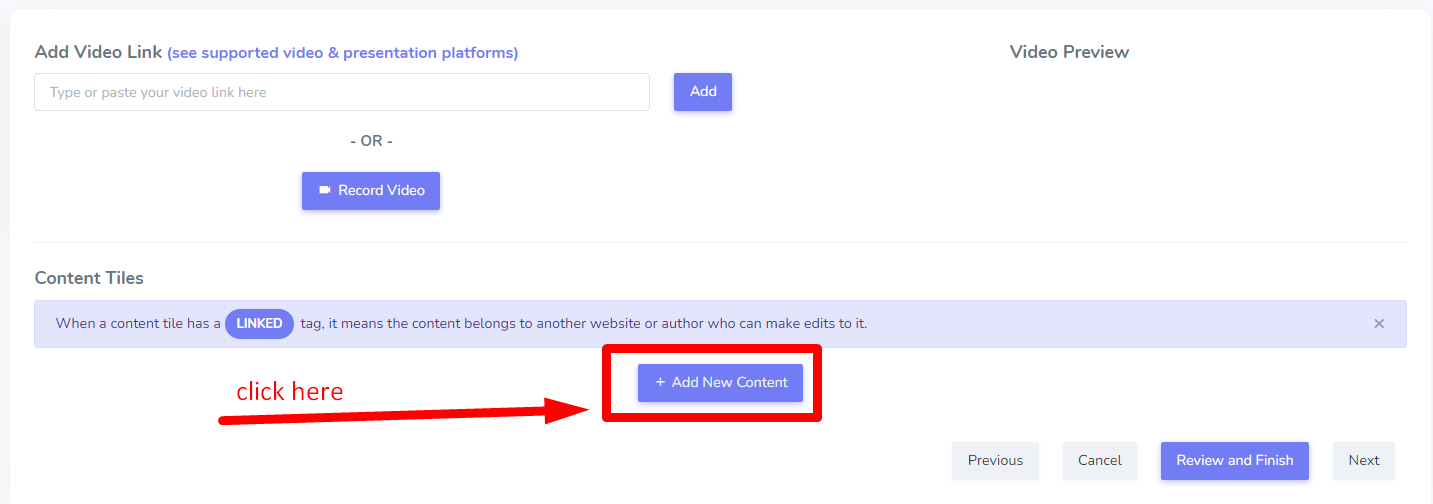
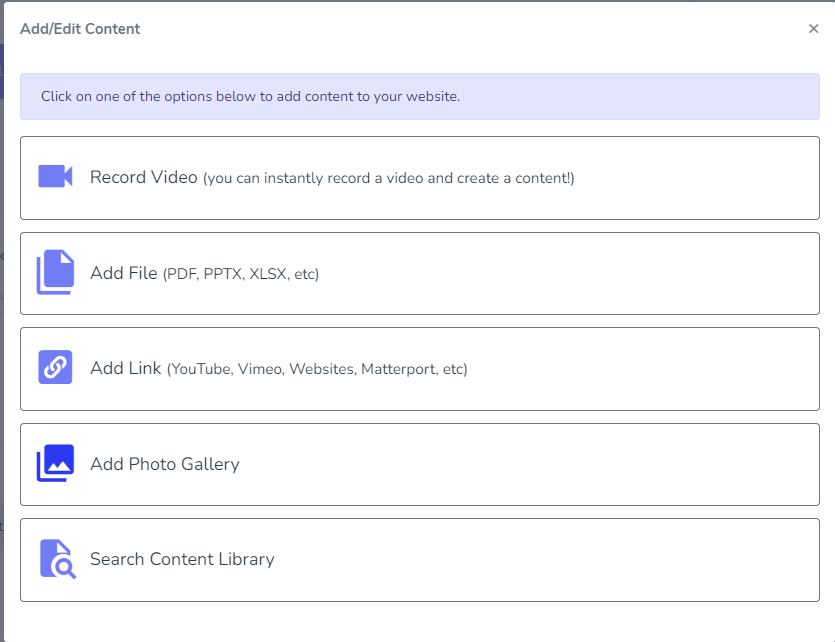
Choose what type of content to add accordingly
Pro Tip: Learn how to record an instant video inside a content tile here
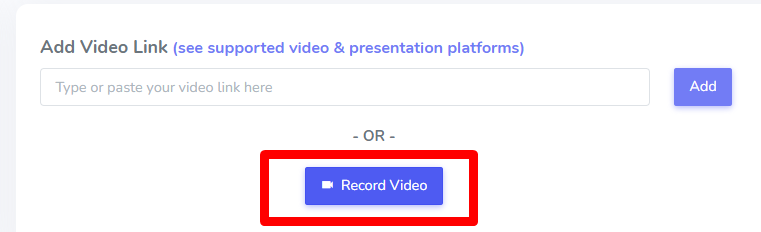
3b) Adding Video
There are two ways to add video.
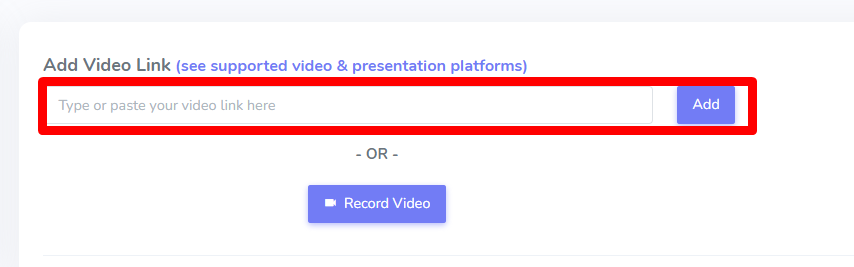
Option 1
Add a video URL link. The video URL can come from a variety of supported video platforms, such as YouTube, Vimeo, Loom and many others. Use this option if the video already exist on a video hosted platform and you are not recording an instant video in real-time.
Option 2
Record an instant video in real-time inside your dashboard. No 3rd party app is required to record. It's highly recommended to use the Chrome browser for optimal performance.
Option 2B:
Move camera bubble accordingly to a placement in center of screen to make it easier to focus. We suggest moving bubble to top center. This way when you record you can also focus on the content you just recently added to guide your video message script.
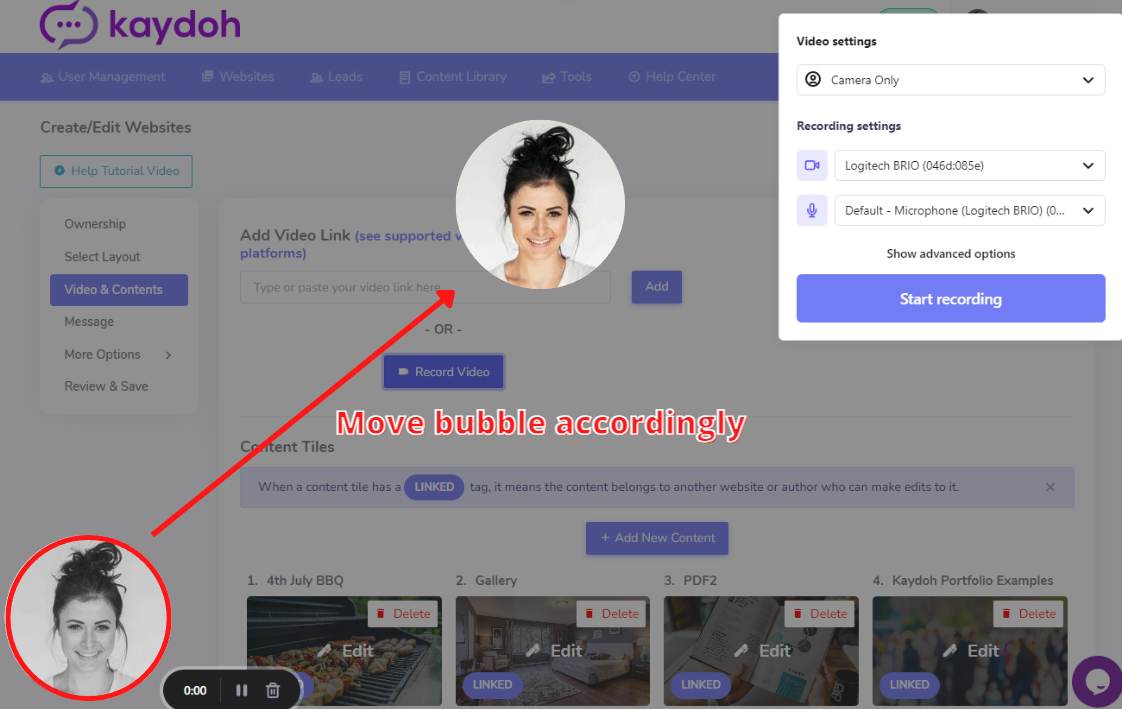
When recording there are 3 ways to record. Choose the appropriate video settings.
- Camera and Screen - This records your camera and your computer screen. Use this setting when going over documents or presenting.
- Screen Only - This records just your computer screen. Use this when you don't want to be on camera or is not needed.
- Camera Only - This records just your camera. Even though you see yourself in a bubble. It will record entire width of your background.
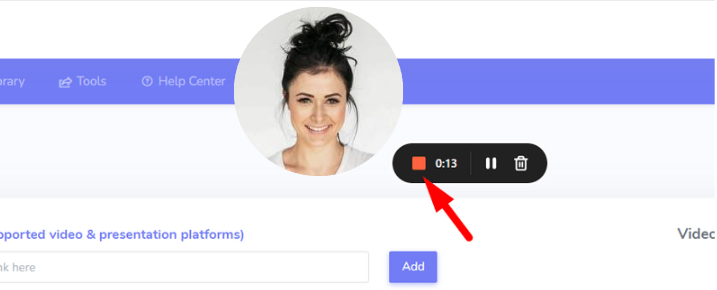
Option 2C:
When ready click "Start Recording". When done click on the stop button.
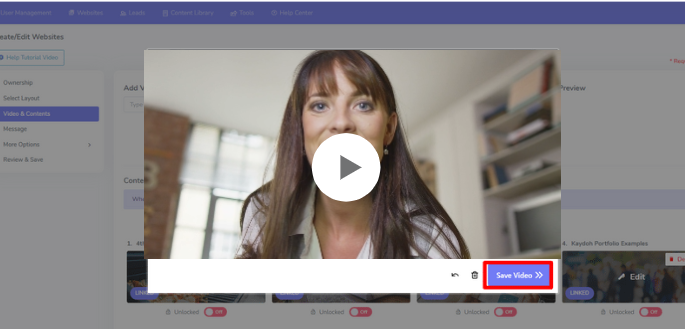
Option 2D:
Click the play button to preview video. When ready click on "Save Video" to insert into dashboard.
Option 2E:
When satisfied with video and content, Click Save & Complete. And you've successfully made your "Video message" webpage.
Next share the website to your recipient by either emailing or texting. Go here to learn how to Send a Video Message
Internal Tags:
how to create video message
video message
setup video message
how to record video
how to record instant video
where do i go to record email
record email